Install on Windsurf
Windsurf uses a global MCP config that applies to all your projects. Edit one file and restart.
node --versionOpen Windsurf Settings → Cascade → MCP Servers
Click the gear icon at the bottom-left, or go to Windsurf → Settings. In the Settings panel, find the Cascade section. You'll see MCP Servers with an Open MCP Registry button.

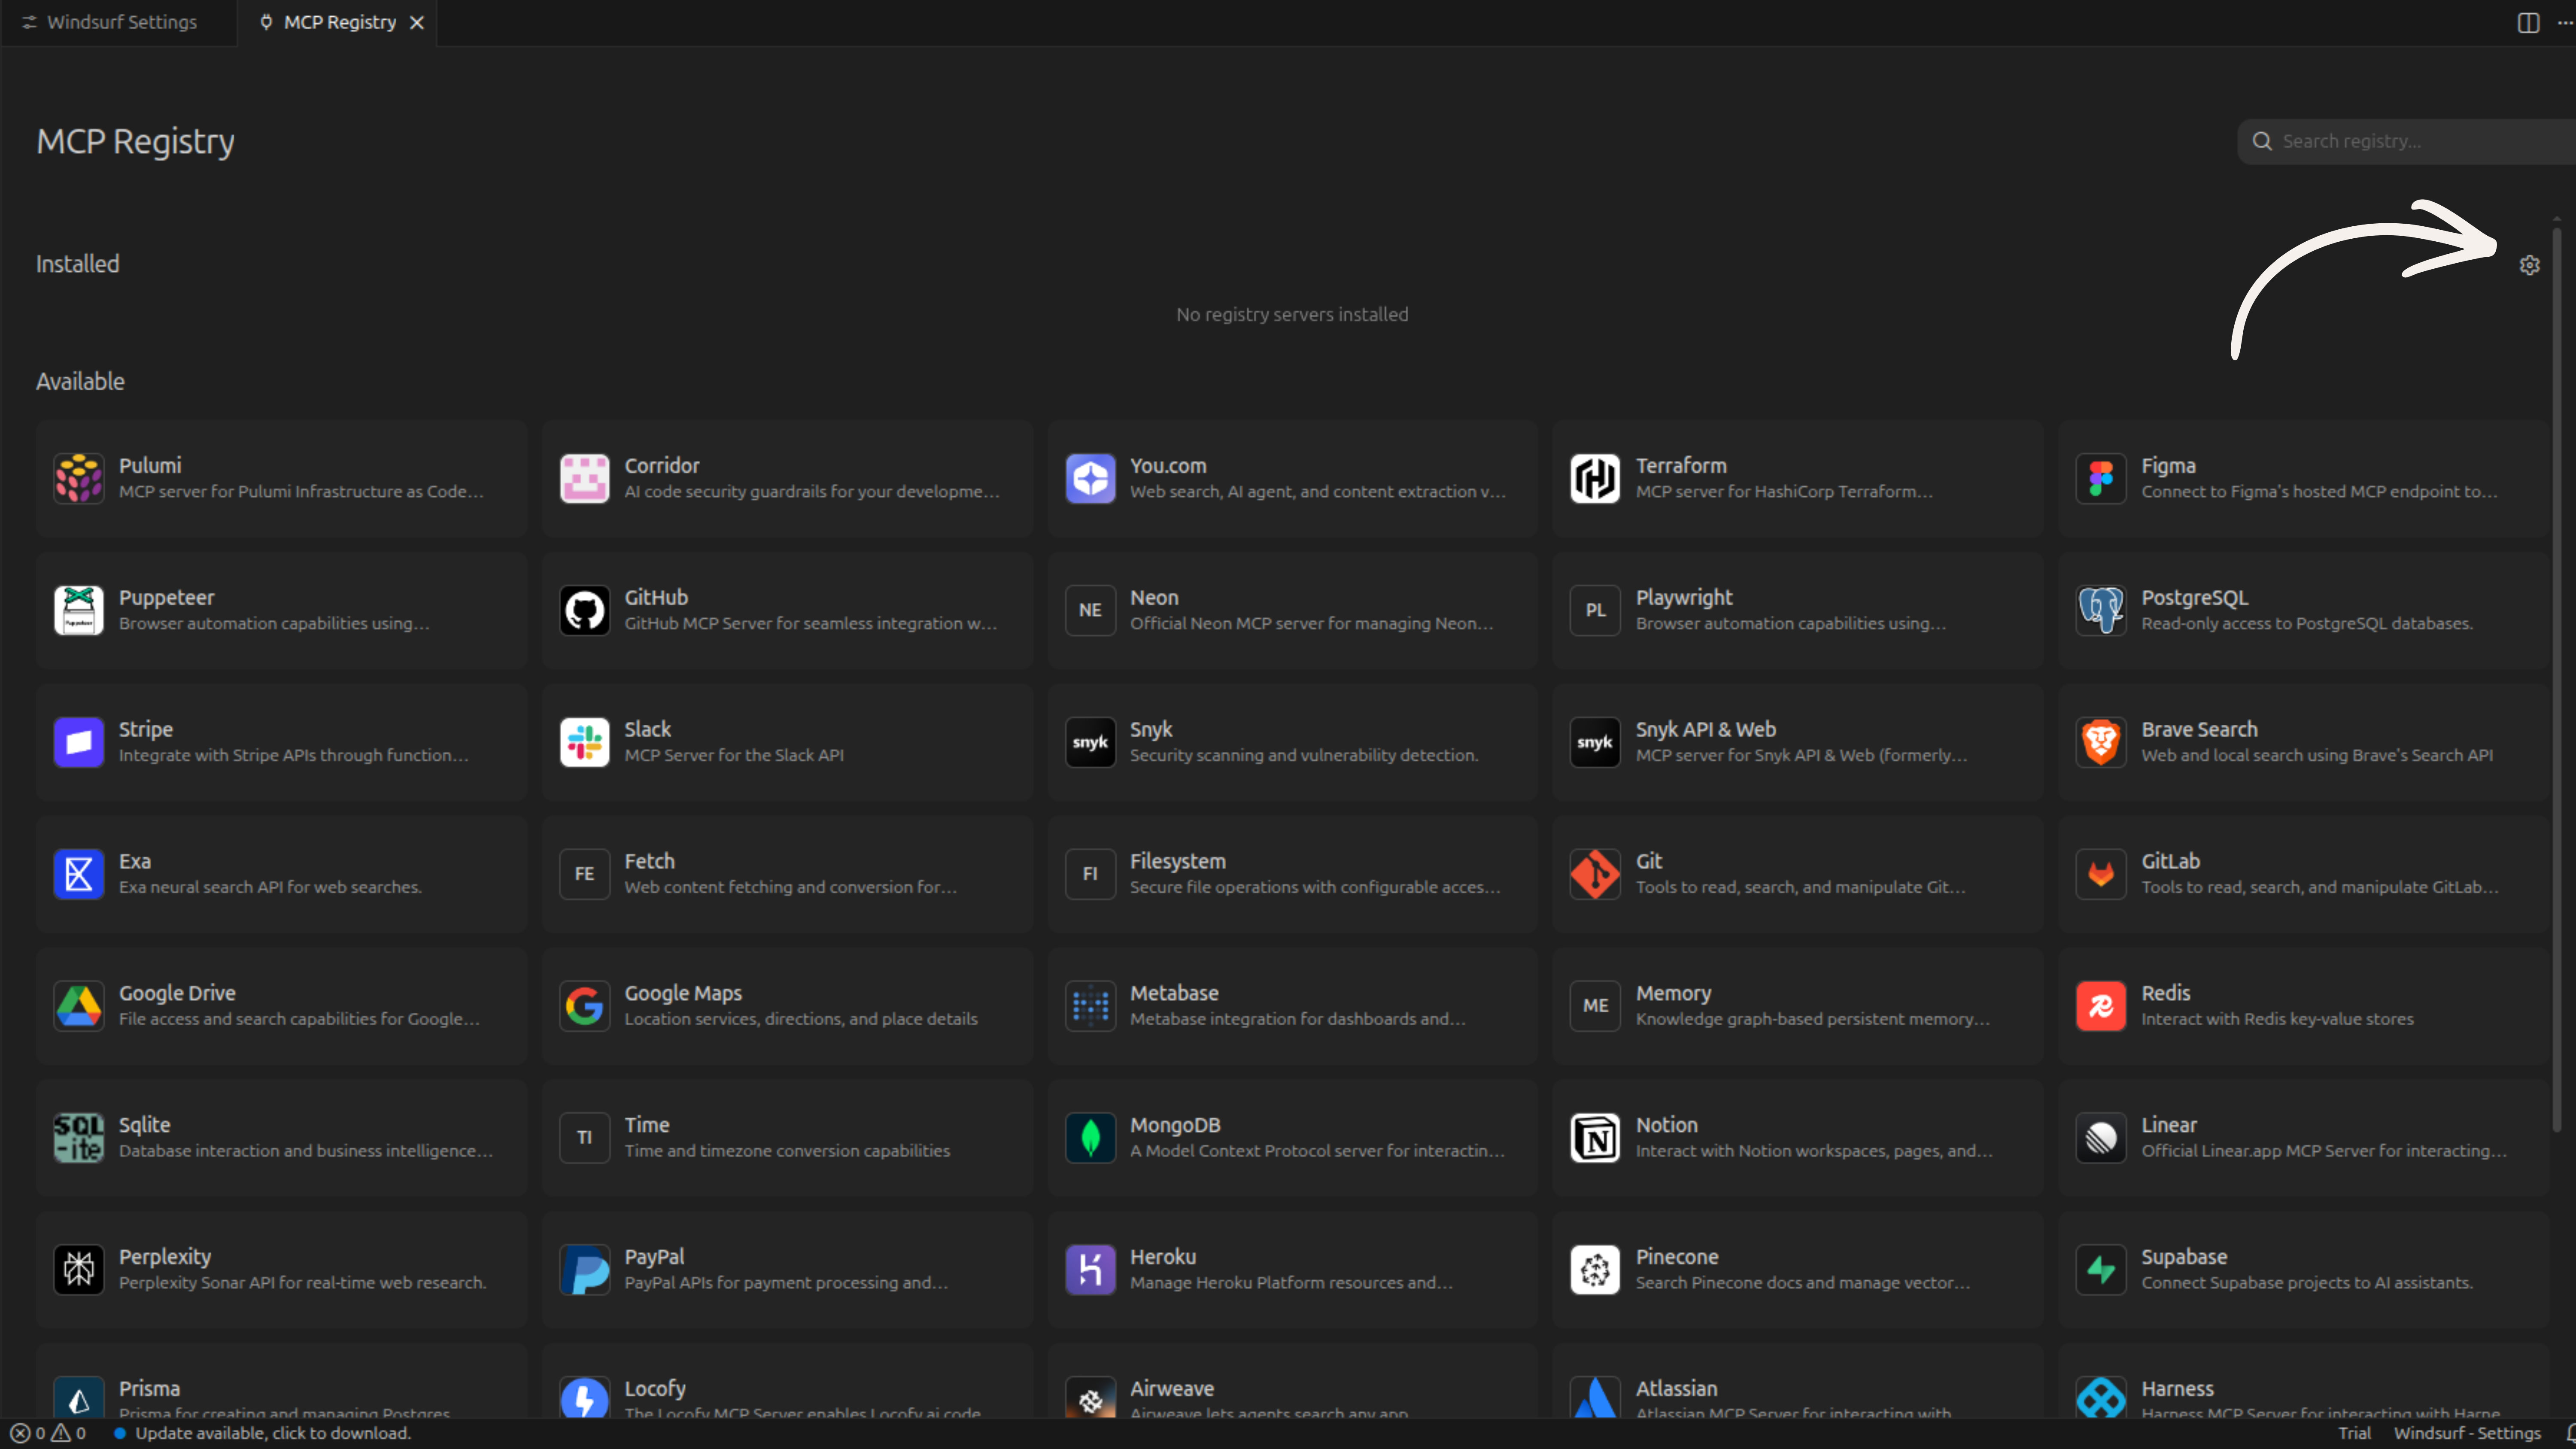
Open the MCP Registry
Click Open MCP Registry. Veilguard isn't in the registry yet — you'll need to add it manually via the config file in the next step.
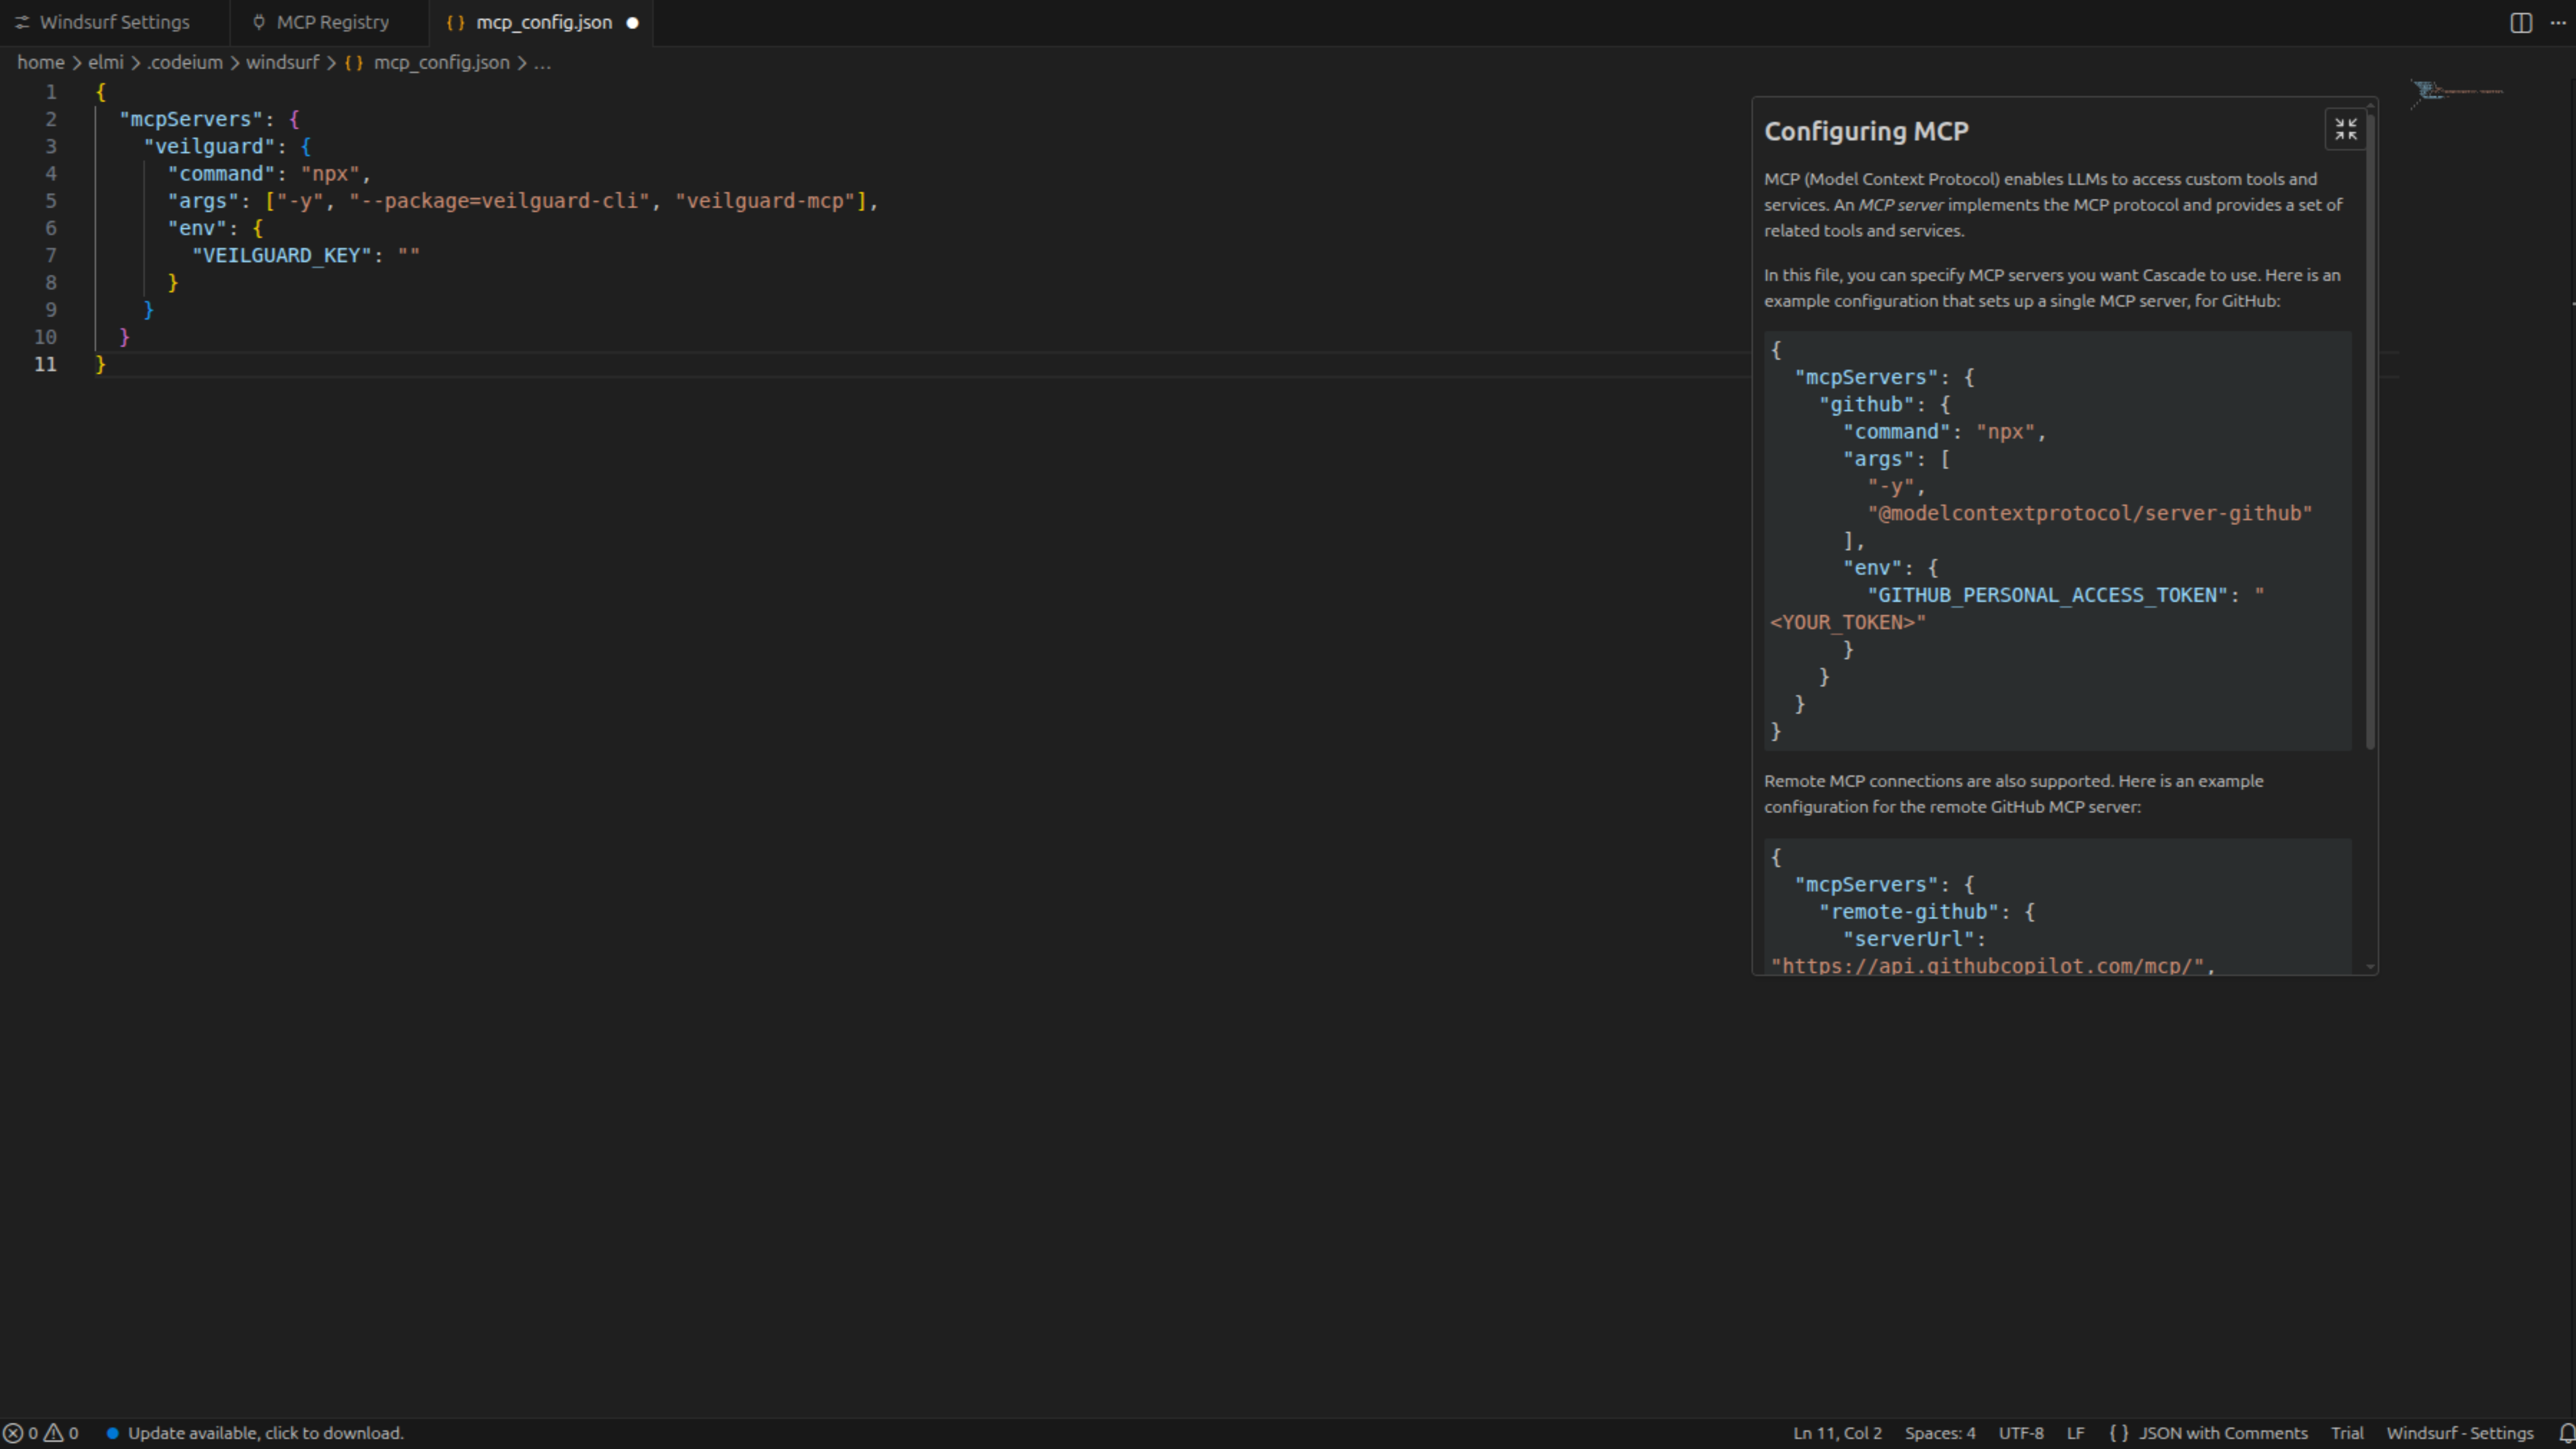
Edit ~/.windsurf/mcp_config.json
Open your terminal and run:
open ~/.windsurf/mcp_config.json
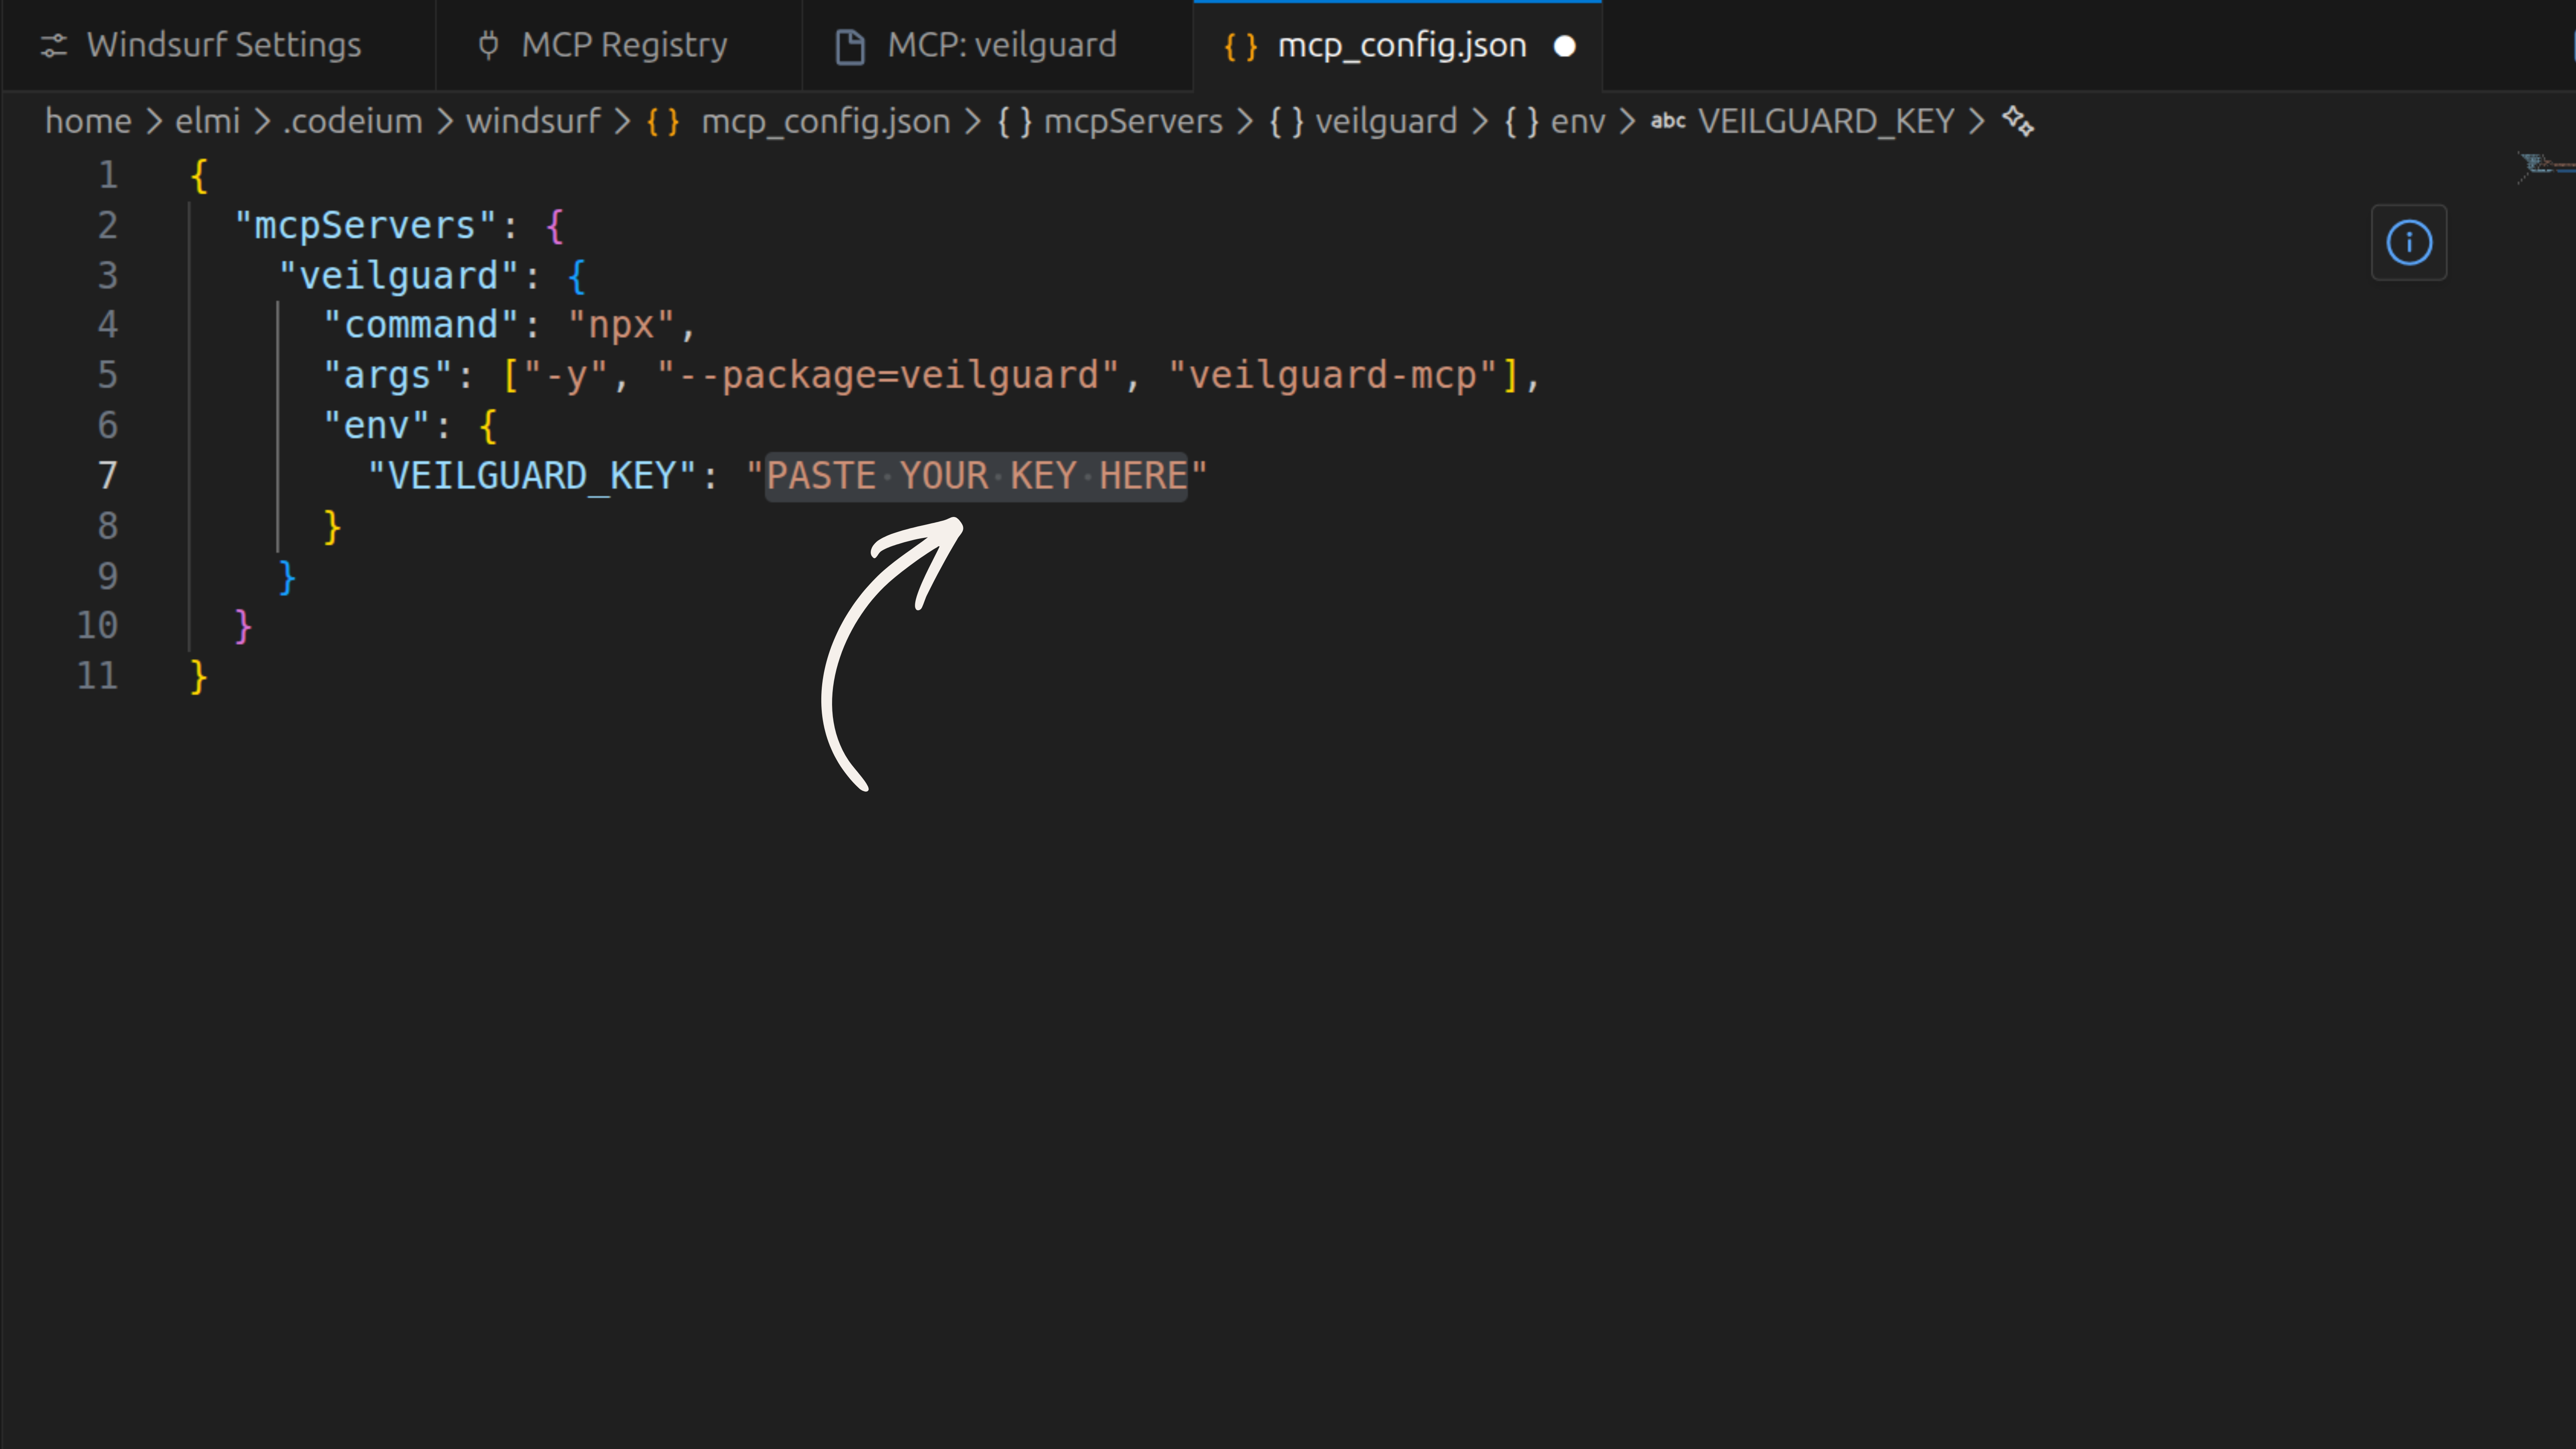
If the file doesn't exist yet, create it. Paste the following config into it (or add the veilguard block inside an existing mcpServers object):
{
  "mcpServers": {
    "veilguard": {
      "command": "npx",
      "args": ["-y", "--package=veilguard", "veilguard-mcp"],
      "env": {
        "VEILGUARD_KEY": ""
      }
    }
  }
}
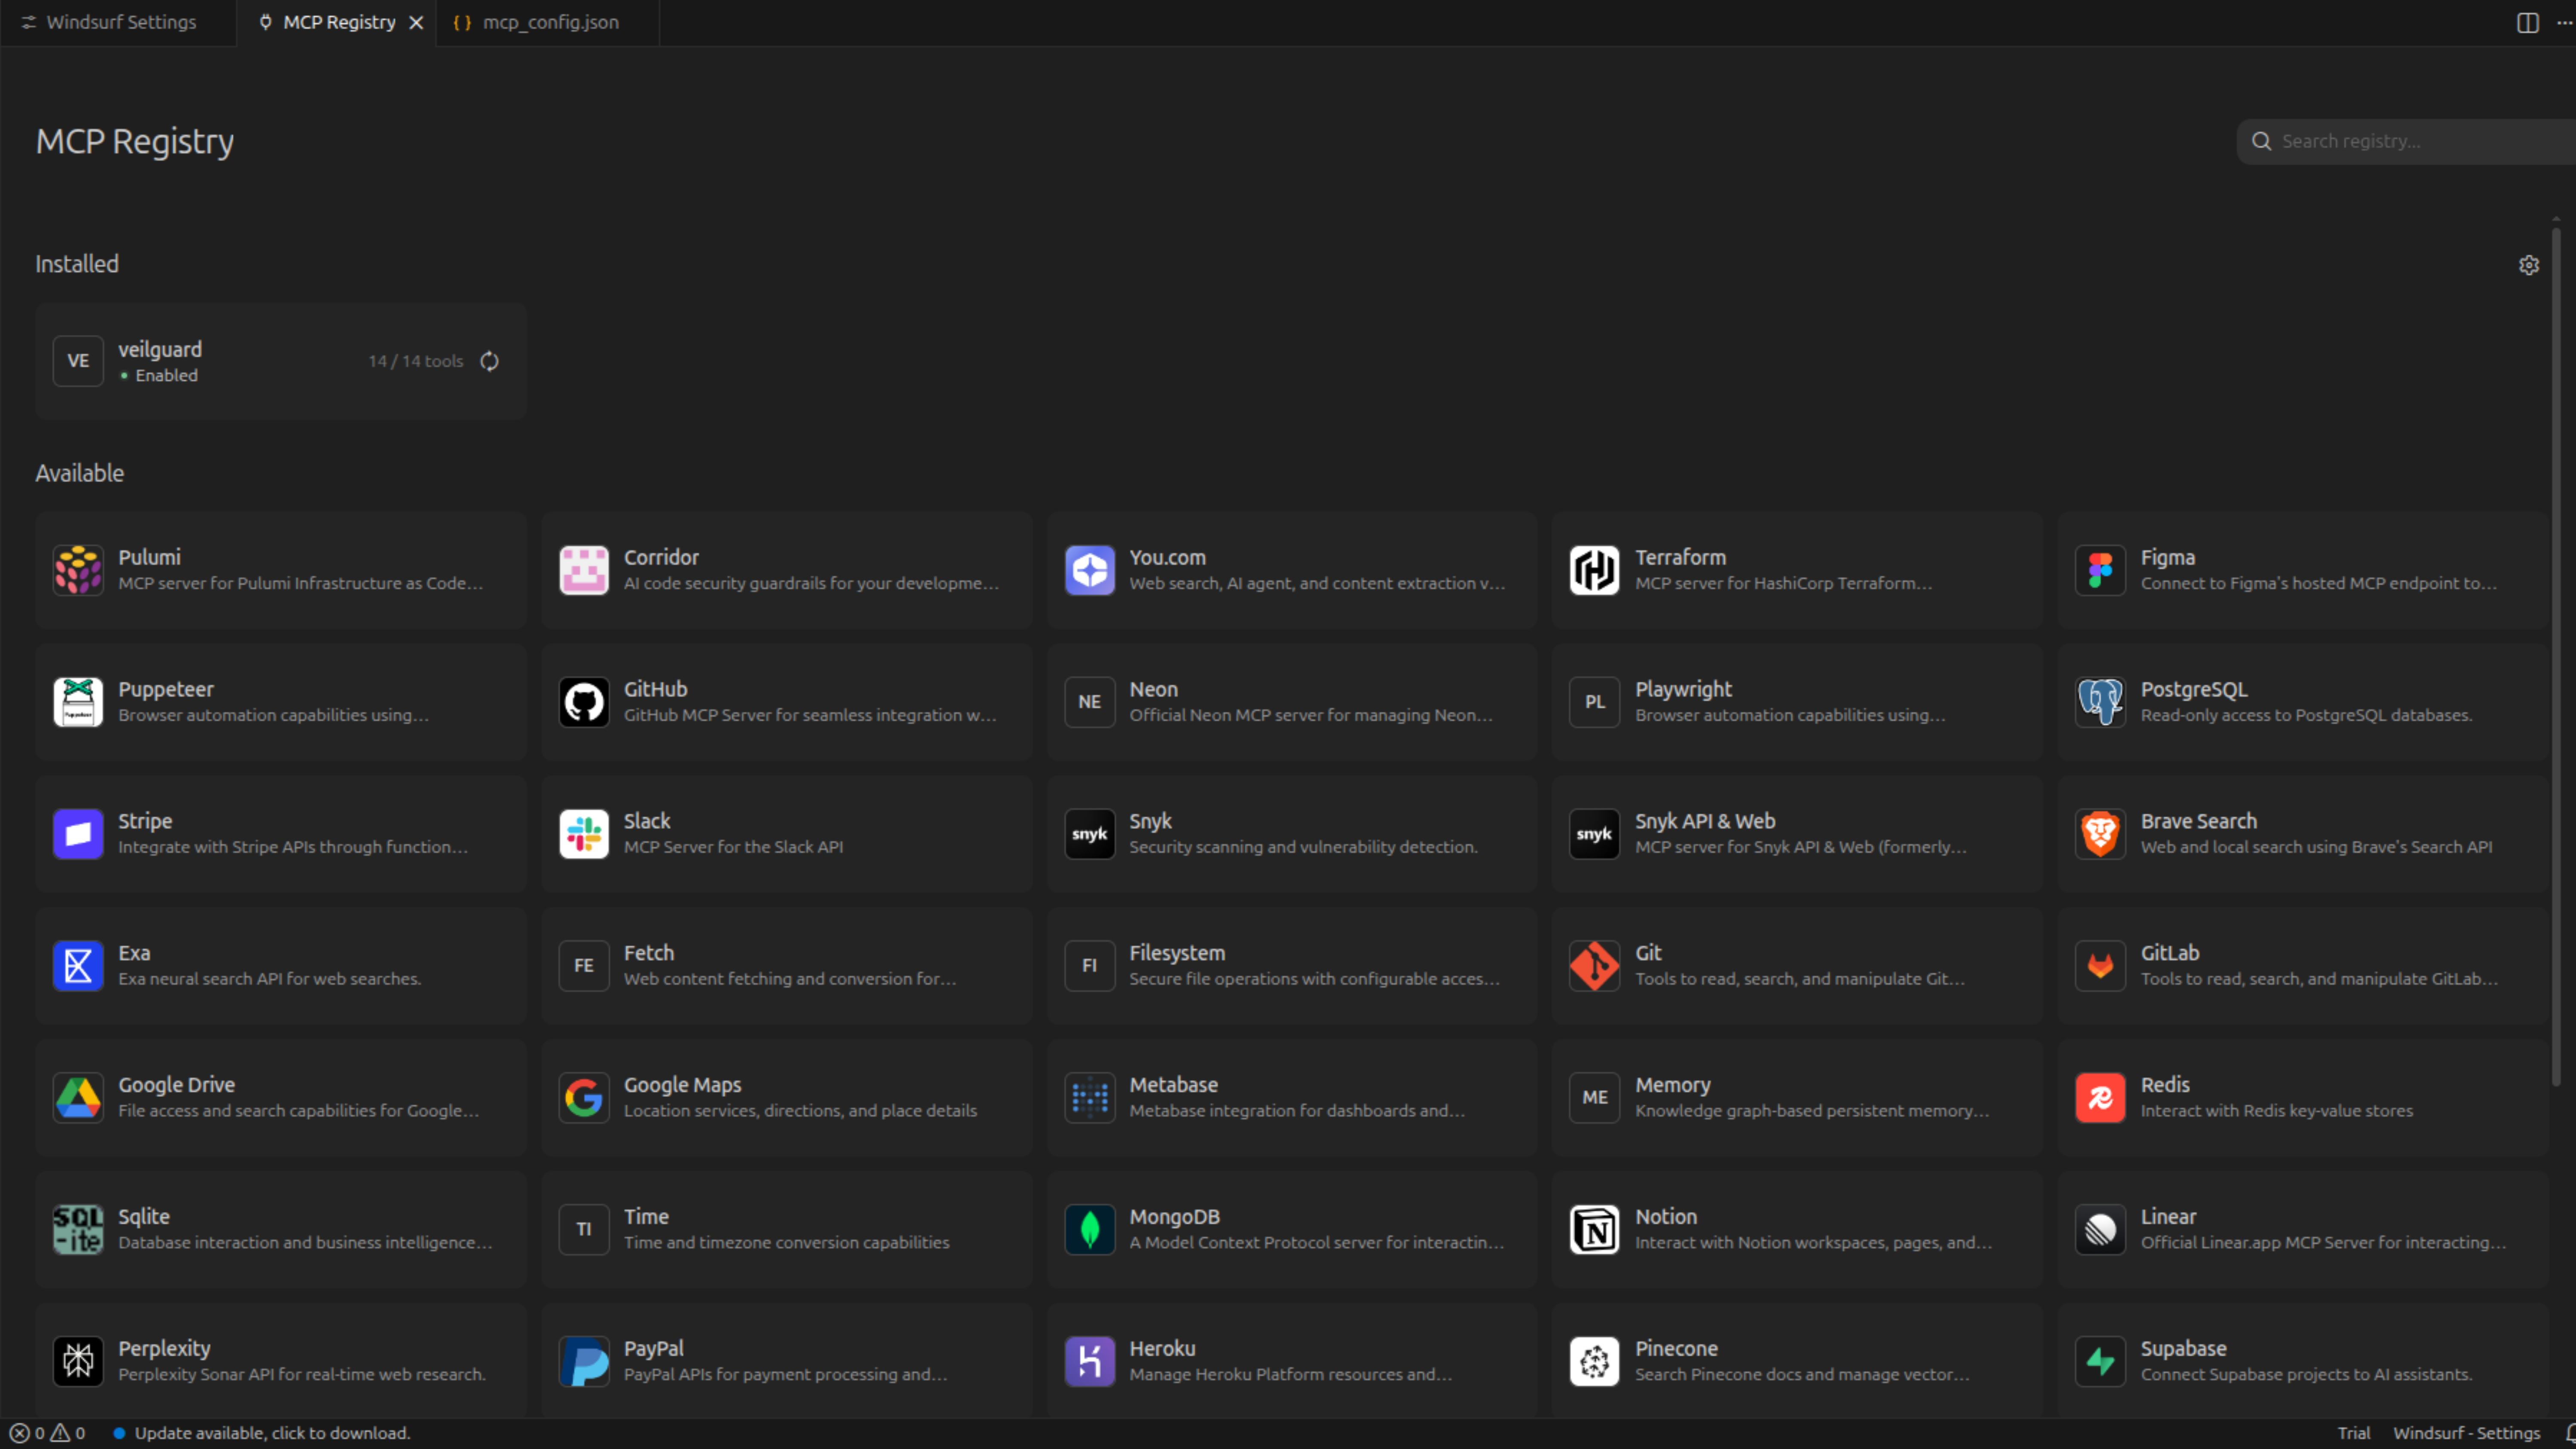
Restart Windsurf and verify
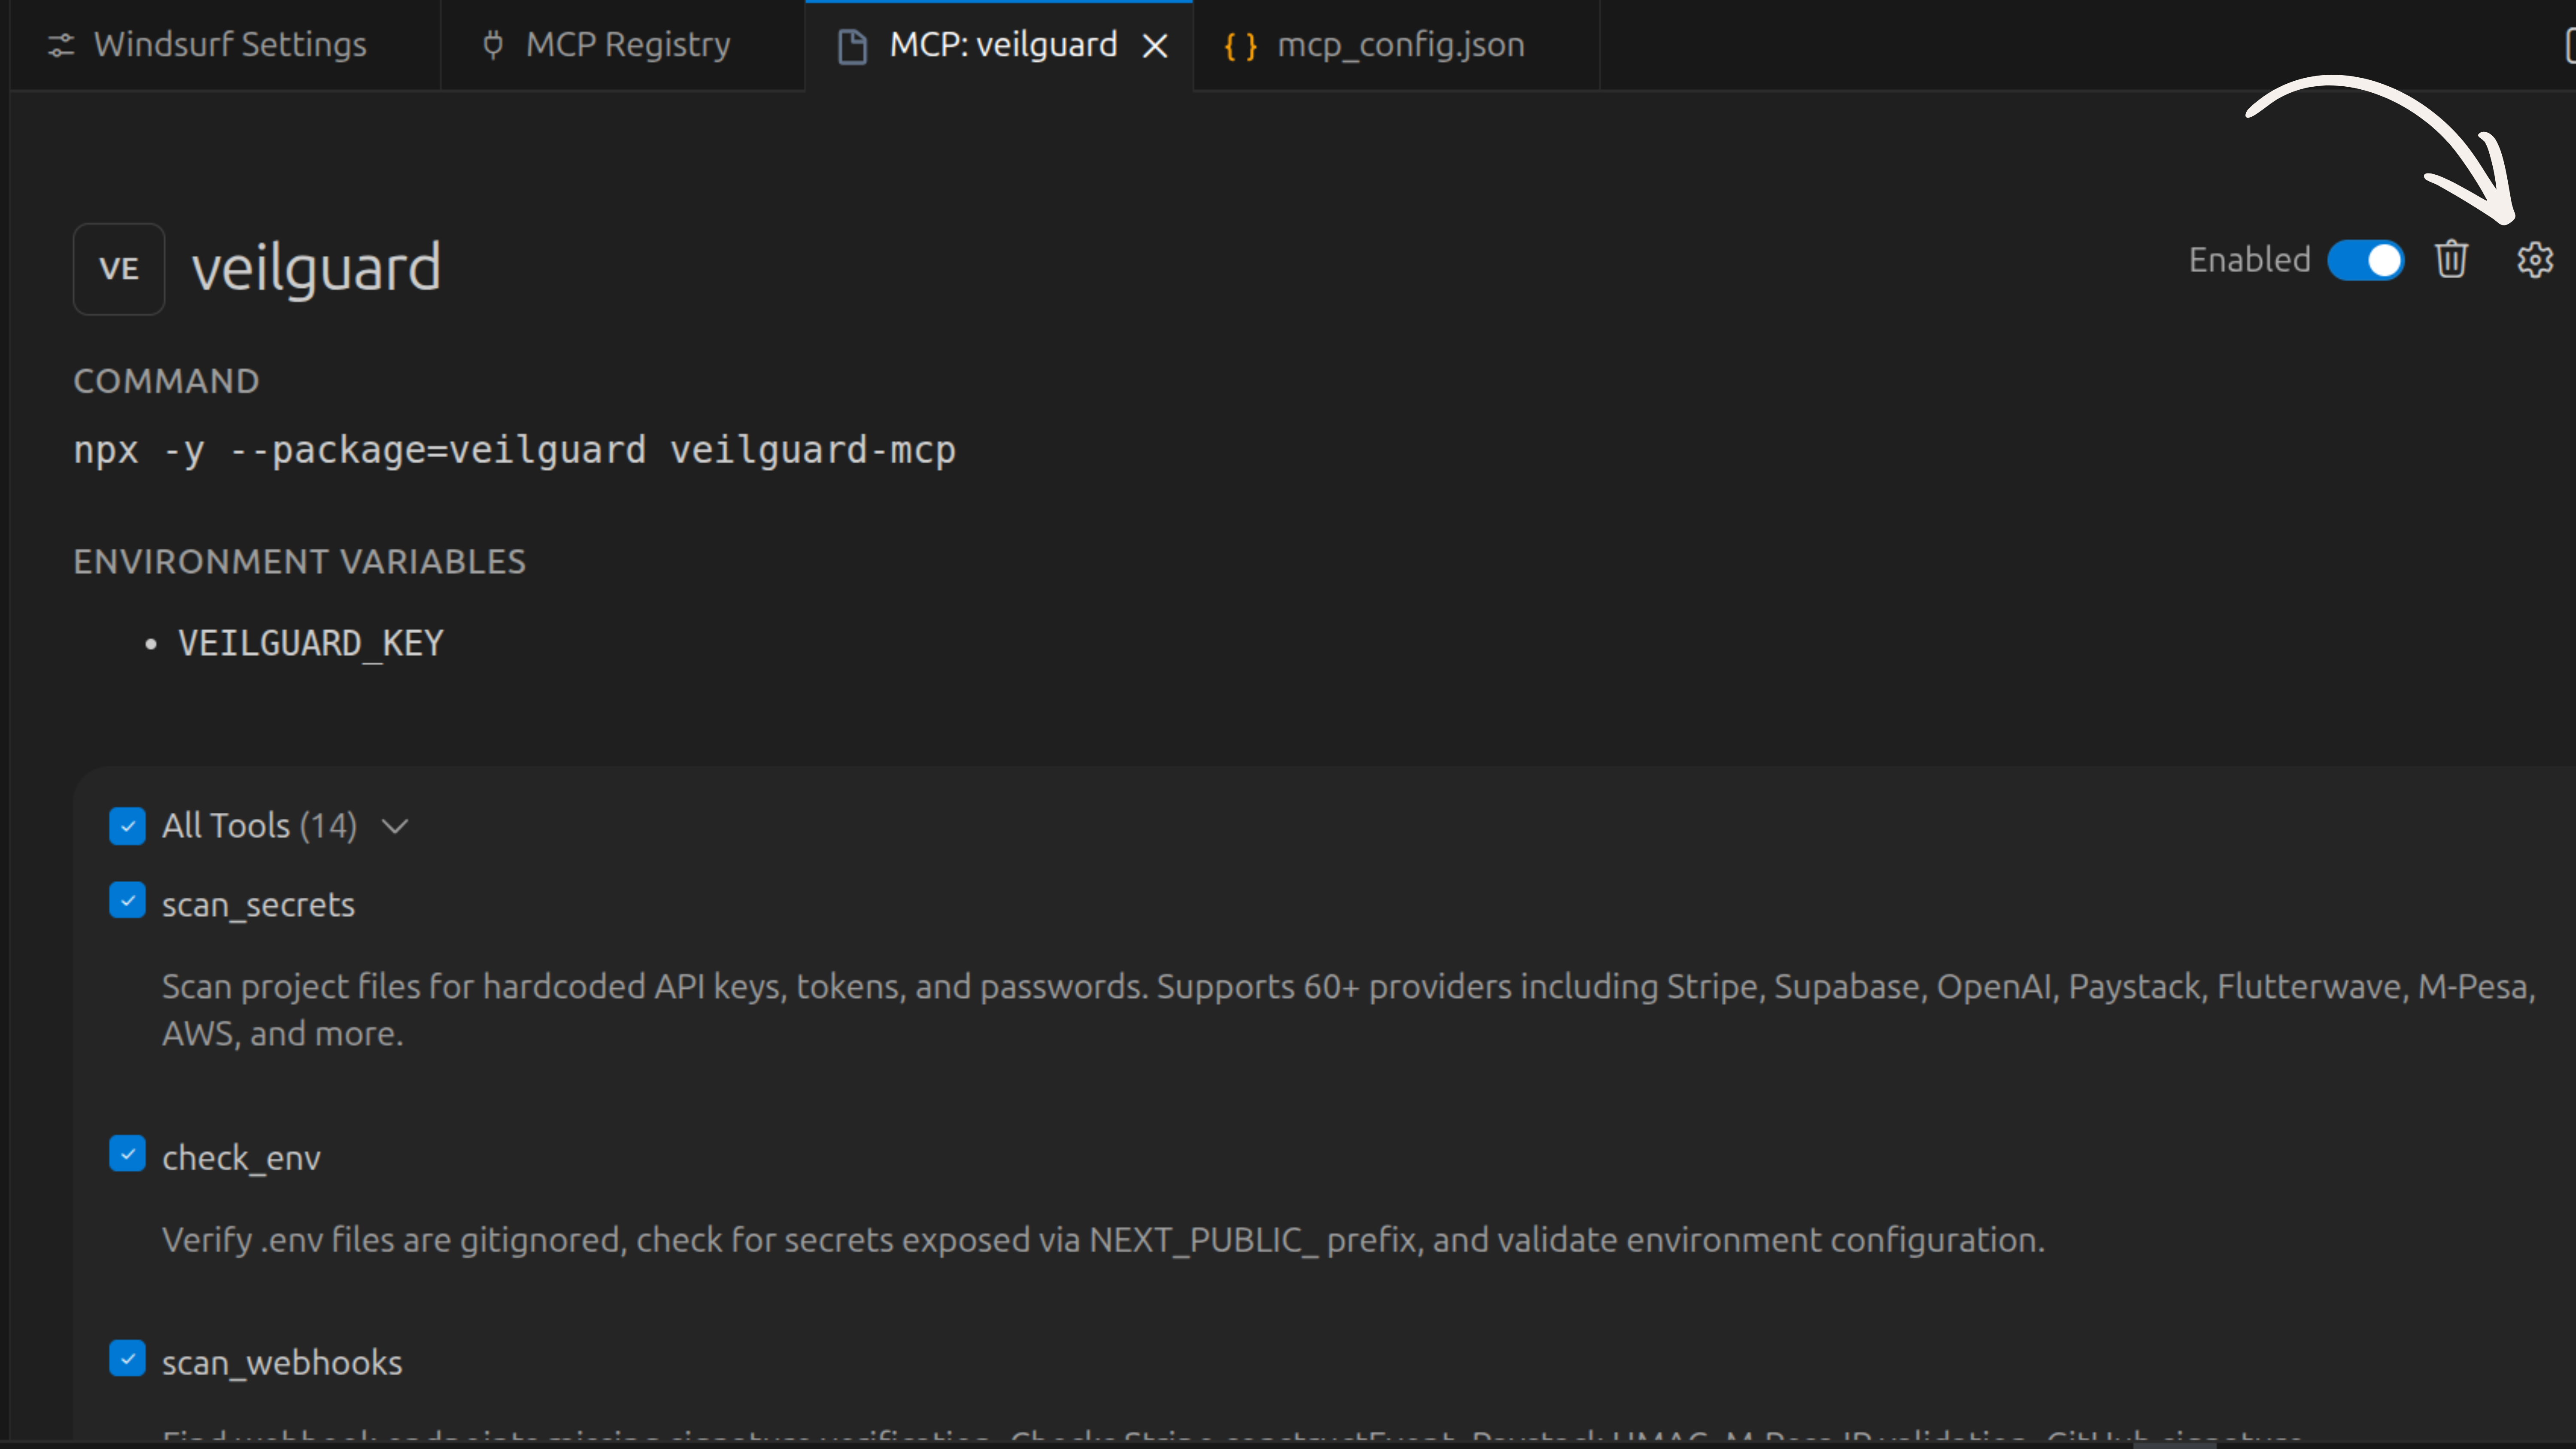
Save the file and close and reopen Windsurf completely. Then go back to Settings → Open MCP Registry. Under the Installed tab, you should see veilguard with 14 / 14 tools and an Enabled badge.
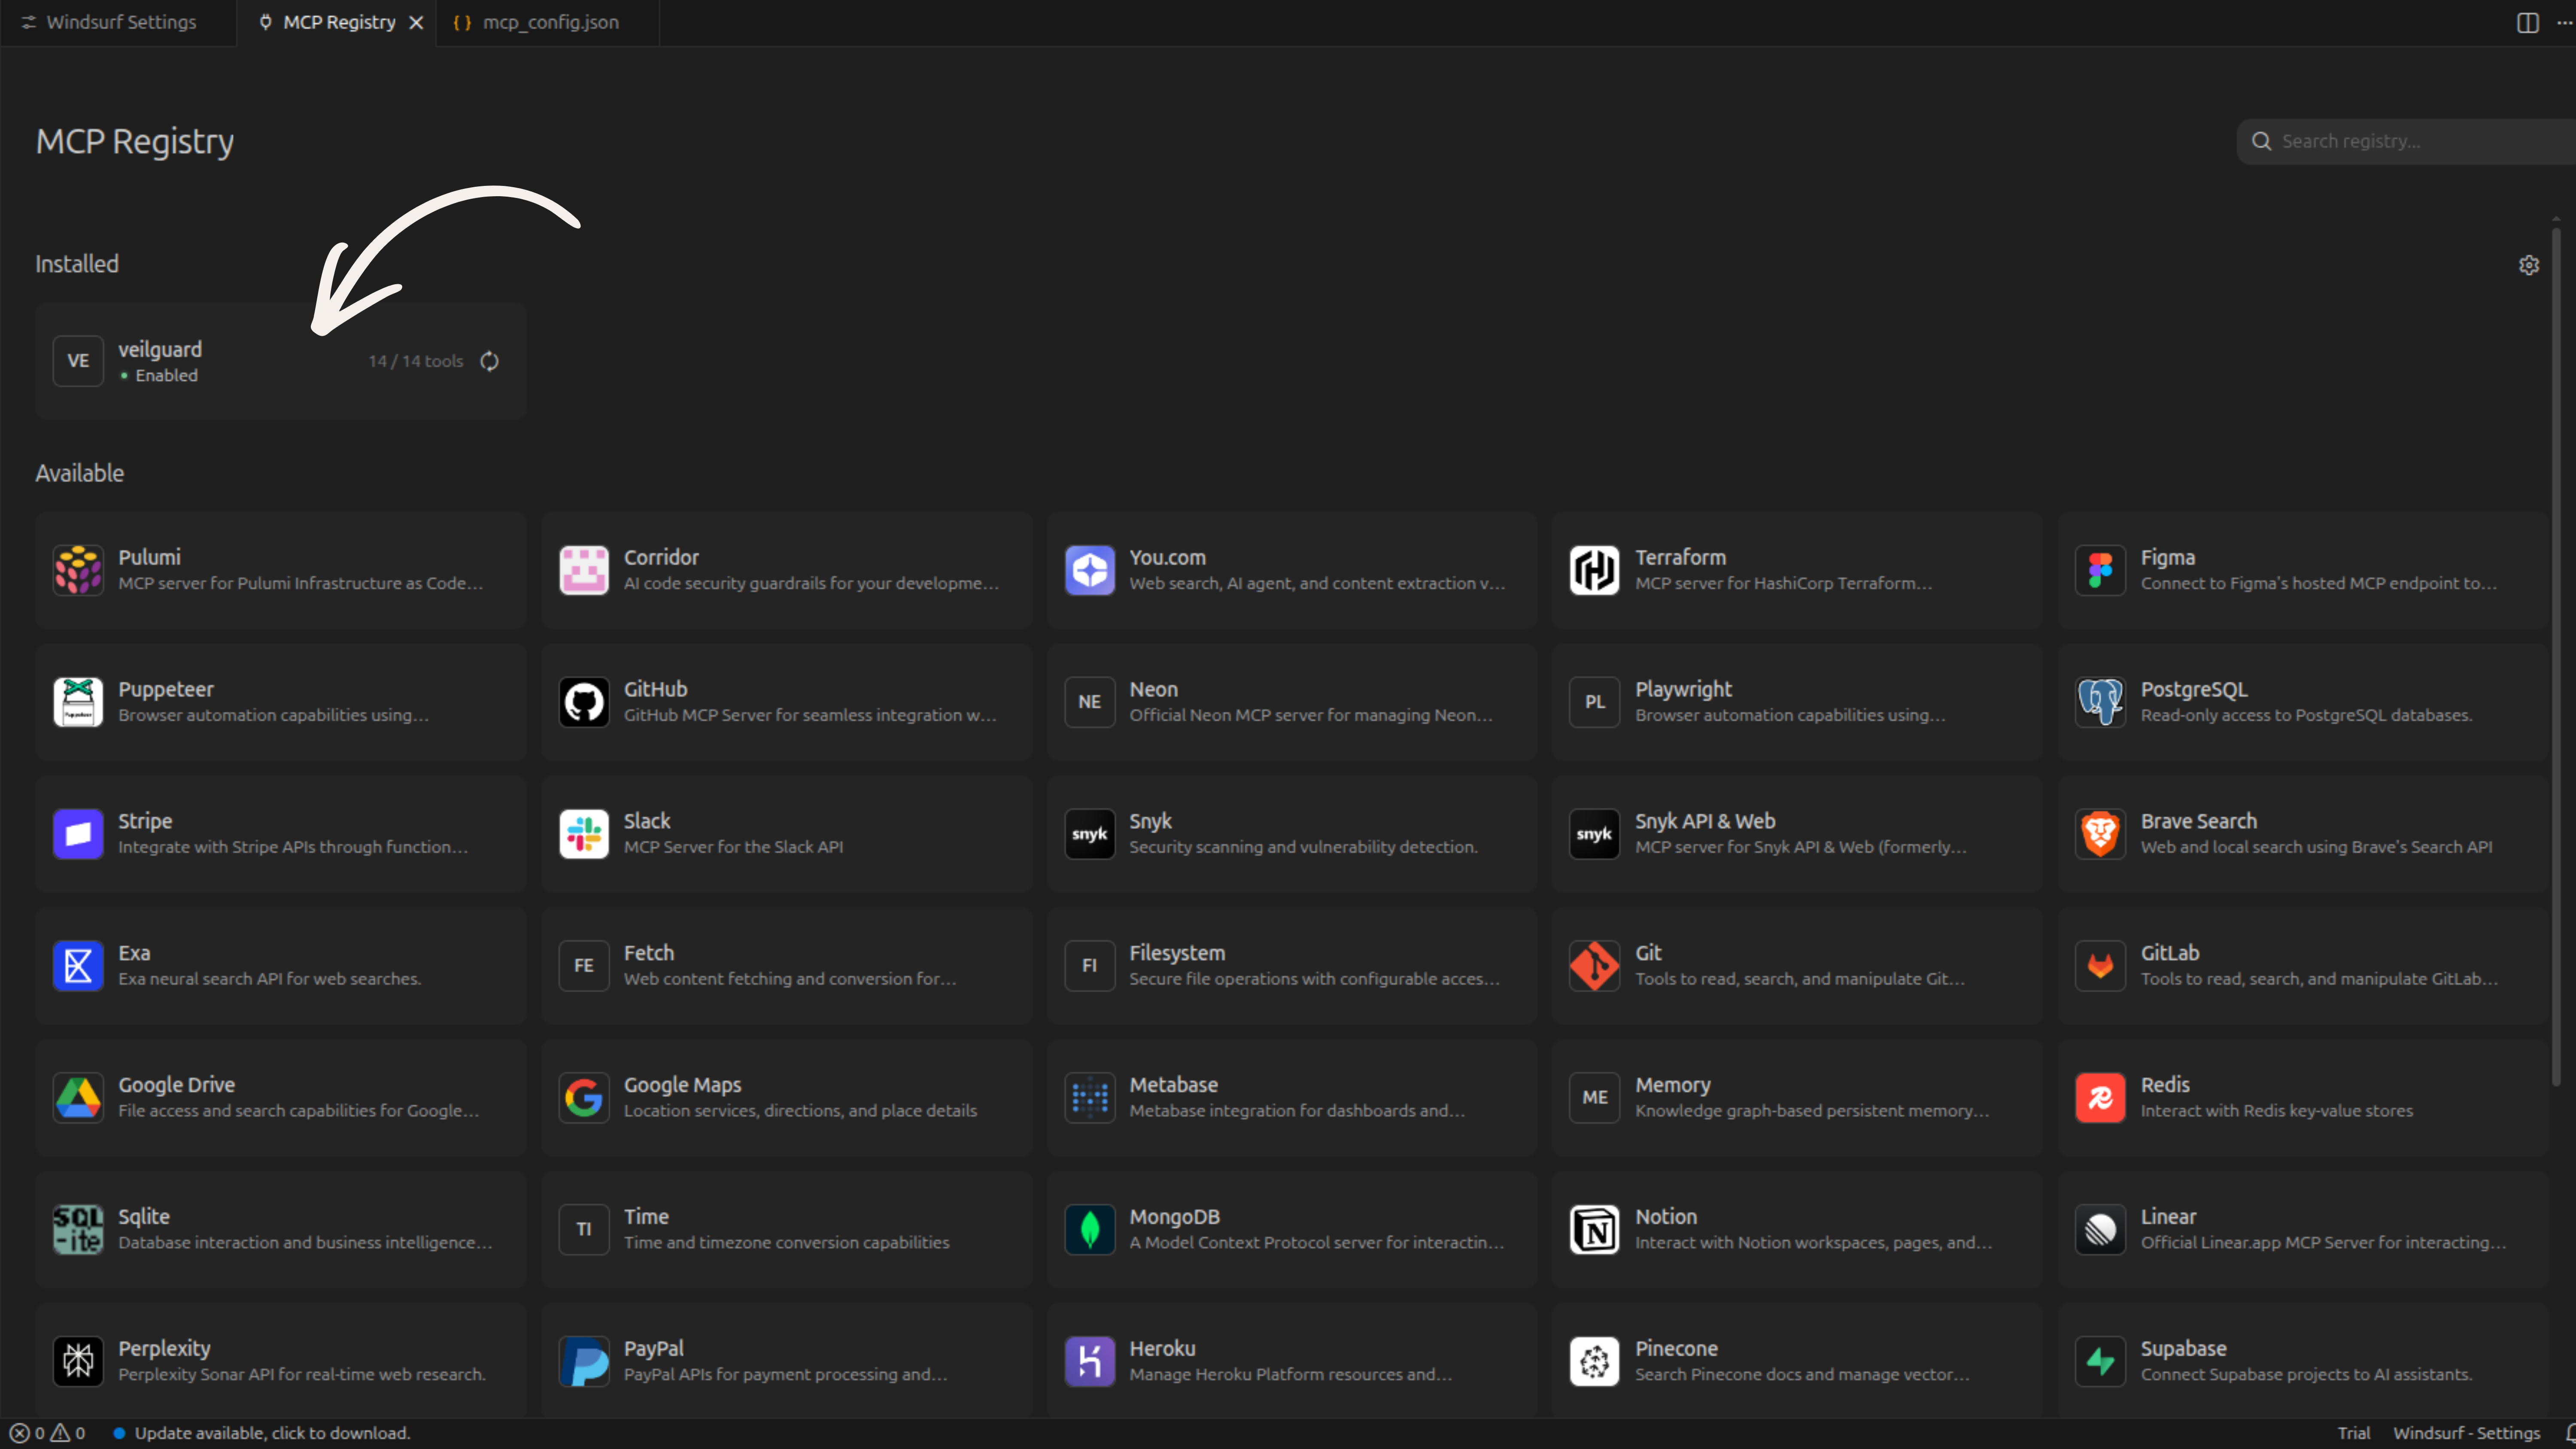
You can also click the veilguard row to see all 14 tools listed and confirm they are enabled.
Add your Pro key (optional)
Re-open ~/.windsurf/mcp_config.json and paste your license key into the VEILGUARD_KEY field. Save and restart Windsurf.
Get a Pro key at veilguard.dev/pro.
Notes
- •
~/.windsurf/mcp_config.jsonis global — applies to every project you open in Windsurf. - •A full IDE restart is required after any config change — a window reload is not enough.
- •For auto-scanning, download the
.windsurfrulesfile to your project root.